
Baking process
The Baking Process, Step by Step
From weighing flour to the first slice.
Why the process matters
Every loaf and pastry follows a sequence where each step prepares the next. Skip or rush one and the effect shows up later, often in the oven.
Below is the general path a naturally leavened loaf takes. Pastries follow a similar logic with an added emphasis on keeping butter cold; you can read more on our pastries page.
-
 Step 01
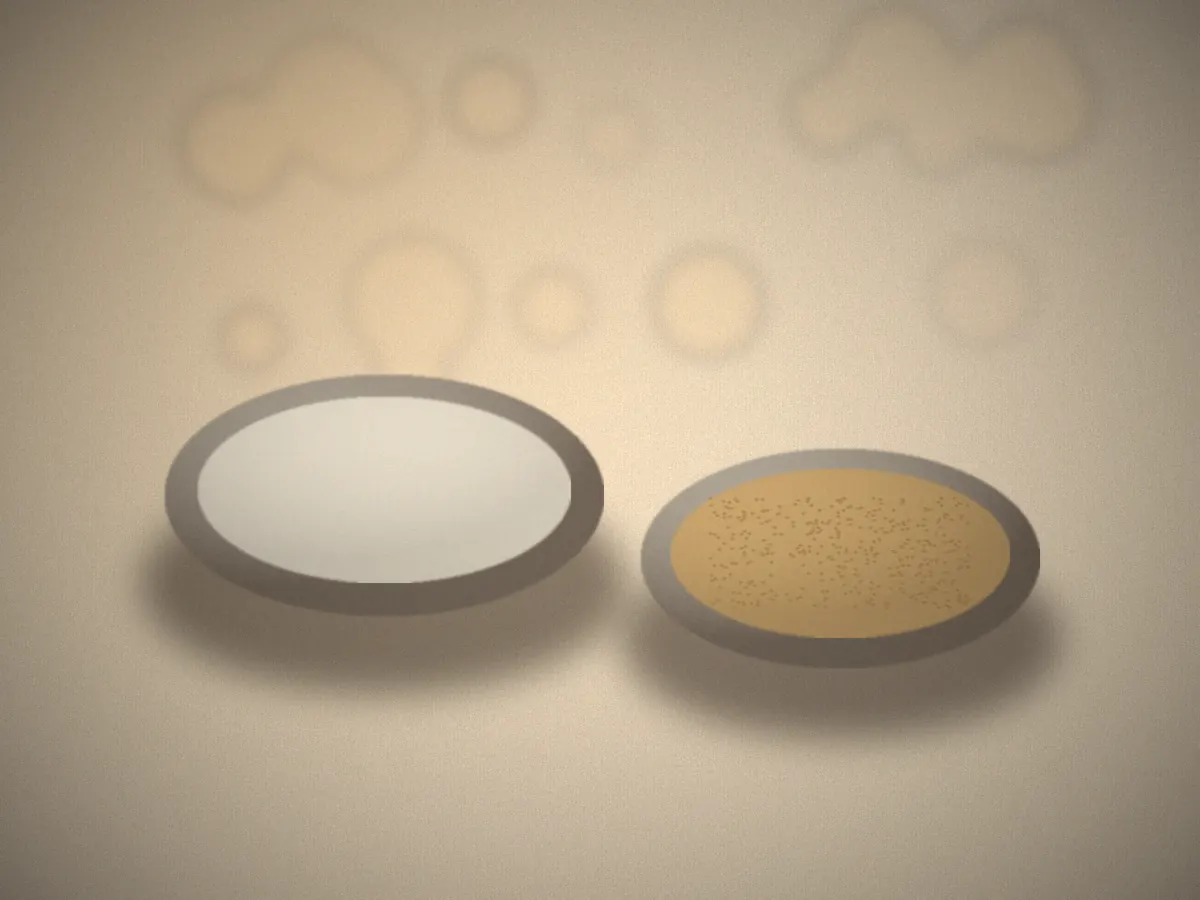
Ingredient preparation
Everything starts on the scale. Flour, water, salt and starter are weighed in grams, and water temperature is adjusted to bring the mixed dough to a target temperature. Bakers often use a simple calculation that accounts for room, flour and starter temperature.
- Refresh the starter so it peaks around mixing time
- Weigh every ingredient, including salt
- Temper water to hit a consistent dough temperature
-
 Step 02
Mixing and kneading
Mixing hydrates the flour and begins gluten development. Many artisan bakers mix gently, then build strength with a series of stretch-and-folds during the first hours of fermentation instead of long, intensive kneading.
- Autolyse flour and water for 20–60 minutes
- Add salt and starter, mix until even
- Strengthen with folds rather than heavy kneading
-
 Step 03
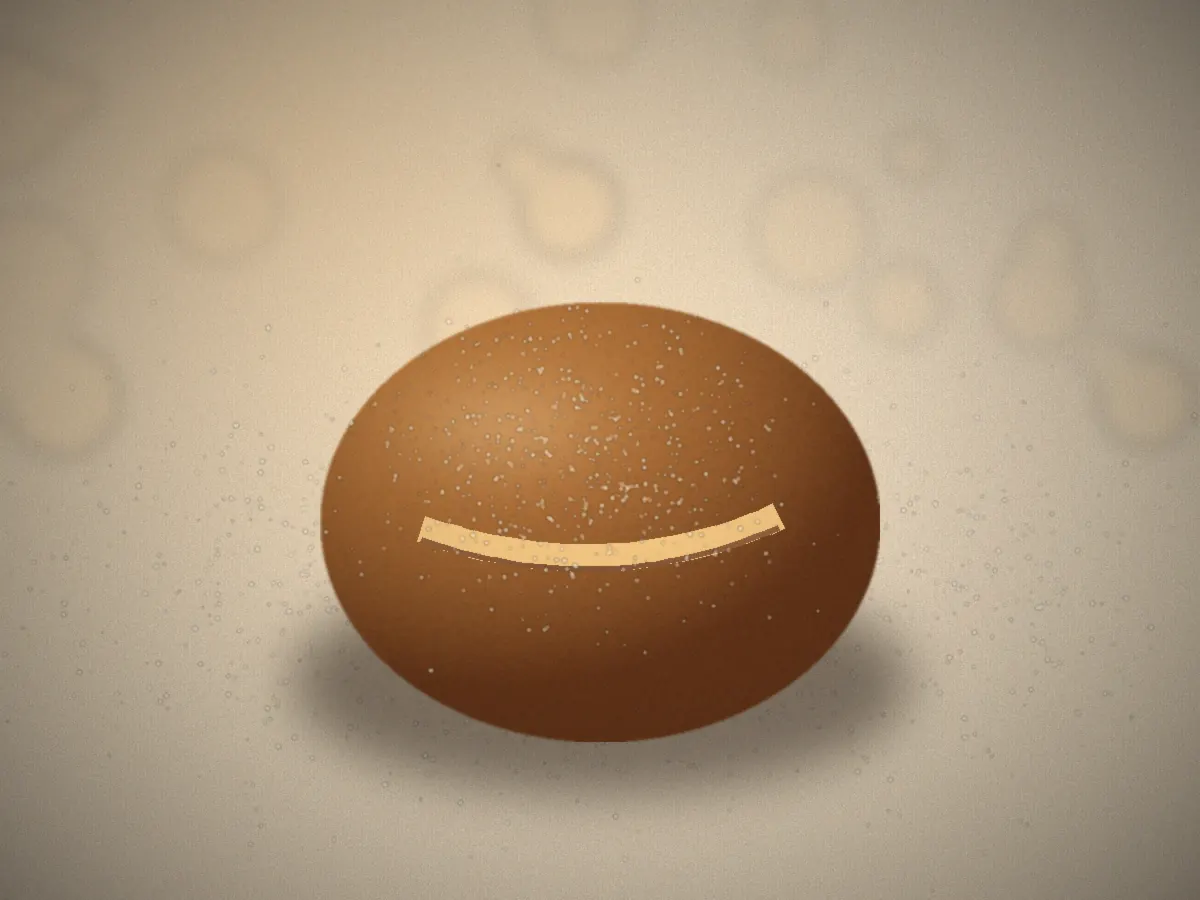
Fermentation and resting
During bulk fermentation, the dough grows in volume, becomes airy and develops flavour. It is ready when it has risen noticeably, feels light and jiggly, and shows bubbles at the sides and surface.
- Keep dough in a warm, stable spot
- Judge by volume and feel, not the clock alone
- Note temperature for consistency next time
-
 Step 04
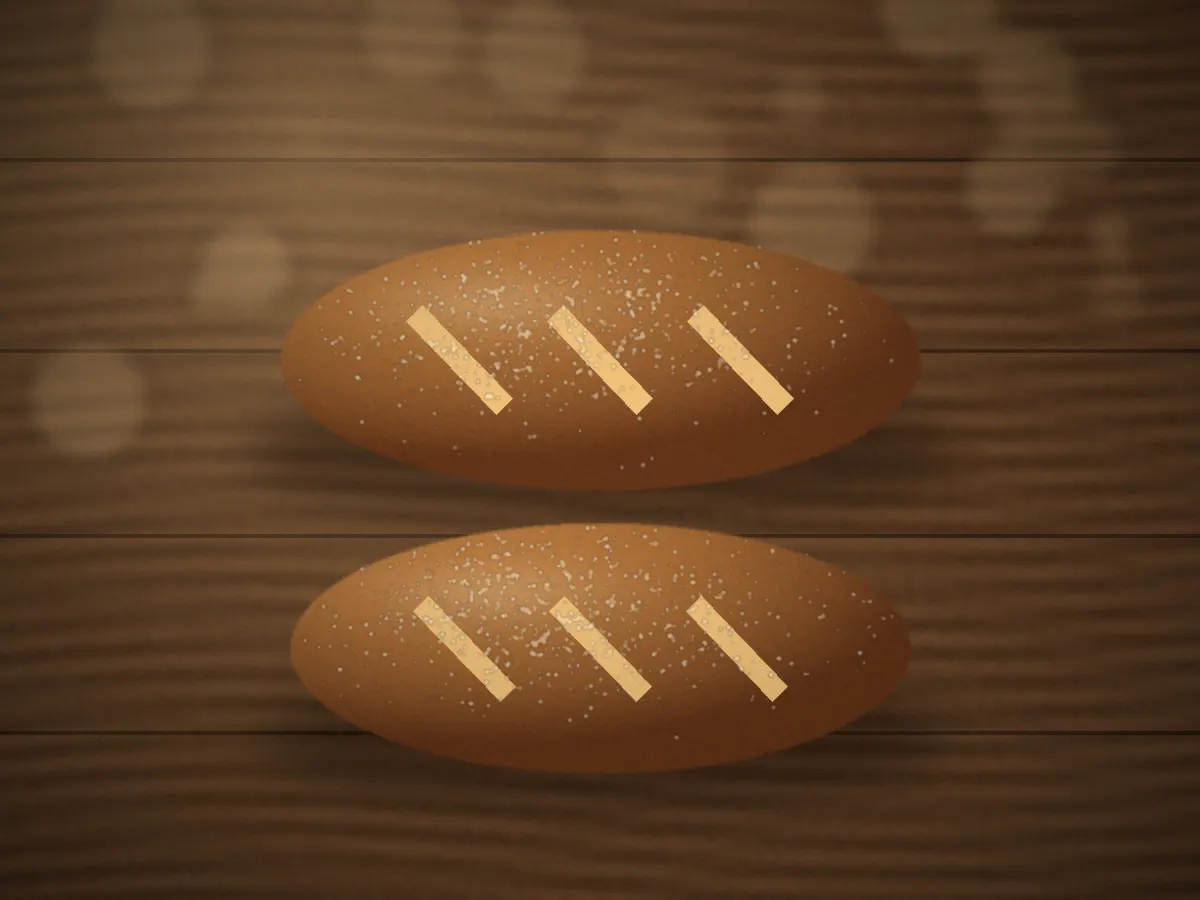
Shaping the dough
Dough is divided, loosely pre-shaped and rested for 20–30 minutes, then given its final shape. Good shaping creates surface tension that guides the loaf upward in the oven.
- Use minimal flour on the bench
- Pre-shape, rest, then shape firmly
- Proof seam-side up in a floured basket
-
 Step 05
Baking temperature and timing
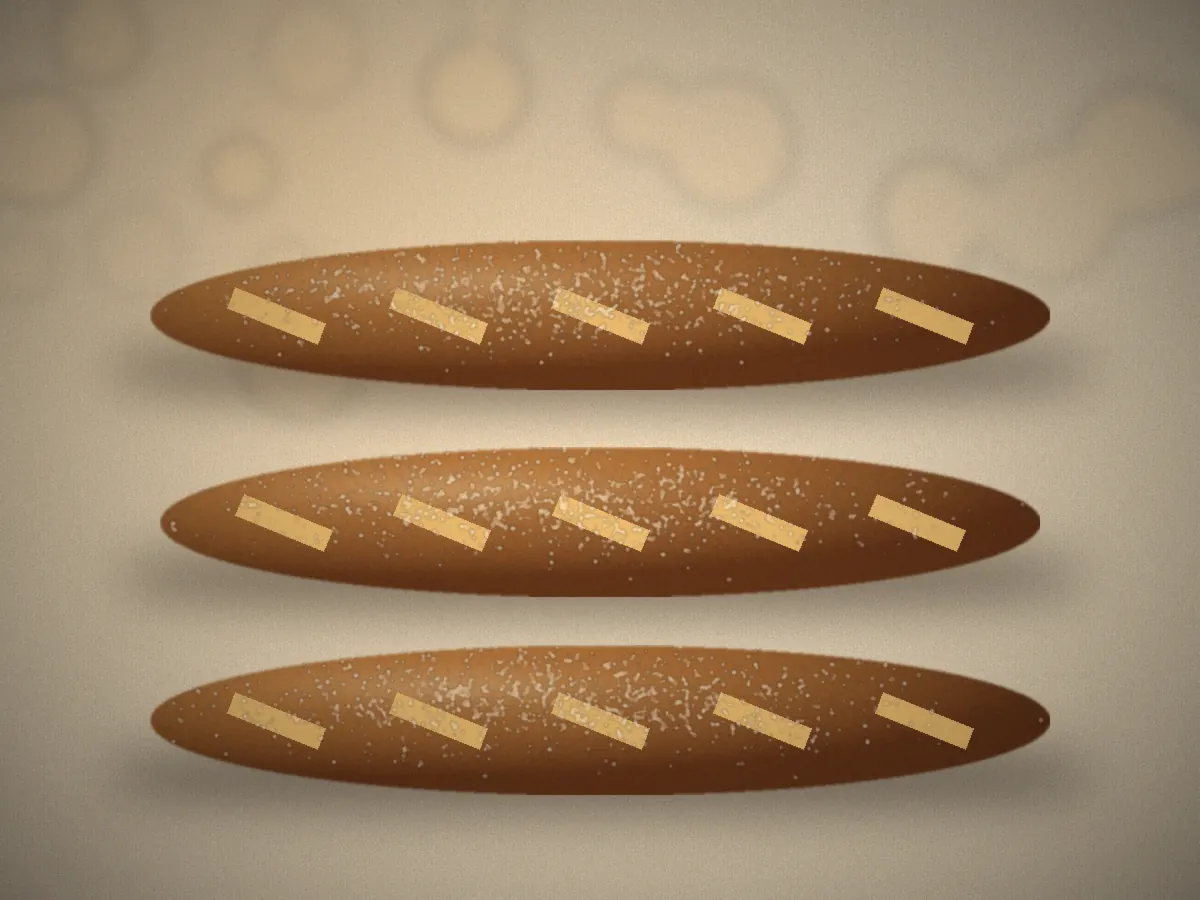
Bread is typically baked in a very hot oven, often around 230–250°C, with steam for the first part of the bake. Steam keeps the crust supple so the loaf can expand fully, then is released so the crust can dry and colour.
- Preheat thoroughly so the oven is evenly hot
- Score decisively just before loading
- Bake until the crust is deeply coloured
-
 Step 06
Cooling and finishing
A loaf keeps cooking after it leaves the oven. Moisture redistributes and the crumb sets as it cools. Cutting too early releases steam and leaves the interior gummy, so most breads rest at least an hour.
- Cool on a wire rack for airflow
- Wait at least an hour before slicing
- Glaze or dust pastries only once cool
Consistency in small-batch baking
Small batches do not mean unpredictable results. Consistency comes from a few habits repeated every day:
- Measure everything by weight and record dough temperatures.
- Keep notes on room conditions, timings and outcomes.
- Change one variable at a time when adjusting a recipe.
- Read the dough as well as the schedule, especially on very warm or cold days.
Combined, these habits let a small bakery adapt to changing conditions while still producing bakes that look and taste reliably familiar.
What goes into the dough?
Learn how flour, butter, natural leavening and seasonal ingredients shape every bake.